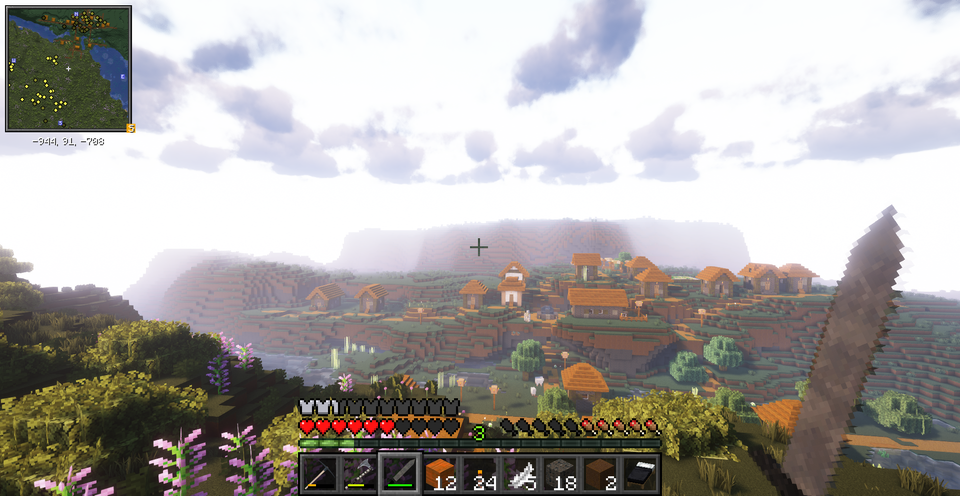
Run a Minecraft server on an old Android smartphone

If you are anything like me, you probably have an old Android smartphone lying around. And if you're anything like me, you don't want to throw it away. But what can you do with an old, slow and laggy Android smartphone?
Specs of a common Android leftover
When considering what to do with an old Android smartphone, it is necessary to talk about the specs.
As smartphones evolve, it is very easy to find a few year old phone that has at least 4 ARM cores and 4GB of RAM. Even newer options like the Redmi 12C, a smartphone in the $100 price range, meet the above specs (and even exceed the CPU core count), so we can work with this as an ideal and low-cost environment.
A use case: Minecraft Server!
With the above specifications, we are in the realm of single board computers. Technically speaking, a smartphone is an SBC that is highly optimised for smartphone-related tasks. In this sense, setting up a Minecraft server is well within the computing capabilities of our old smartphone.
Break down the task we need to do:
- Set up an easy-to-use, persistent work environment
- Understand how to easily connect to the workspace
- Download and run the Minecraft server file
While this may seem like a mundane task, there are a few quirks that will be discussed in the next few paragraphs.
Setting up our environment
The first thing you should do with your phone is uninstall any apps you don't need. Since we're working with limited specs, we don't want background tasks using too much RAM and CPU power, so go through your installed apps and uninstall the ones you don't want to use.
Once you have done this, head over to the Termux project GitHub repository Release section and download the latest apk for the Termux app.
Once you've installed Termux, launch the app.
Acquire Wakelock
When Termux is running, you will notice a new notification in the notification area. The Termux notification should have an "Acquire Wakelock" button which, if tapped, will allow Termux to continue its session even if the screen is turned off.
Although this step is optional, it is a great feature if you plan to leave your phone on for long periods.
Enable sshd
Working on a phone is quite annoying and difficult when running shell stuff. Fortunately, Termux includes an SSH server that is very easy to start.
Before we do this, we need to make a note of our internal username and set up our password.
To get your username execute
whoami
and note down the result (usually u0_something).
Set up your password with
passwd
and follow the instructions. Now we are ready to launch the SSH server!
To do this, simply execute
sshd
and you are good to go.
If you need help in finding your local address, execute
ifconfig
and look for the 192.168.something string or the equivalent for your network.
We have now a SSH server with password authentication that you can access from any other computer. On Linux, you would run:
Enable sshd to run at launch
As Termux executes a script at launch, we can leverage it to ensure the sshd server is launched together with Termux.
From the command line, execute
cd
echo "sshd" >> .bashrc
From now on, the sshd command will be executed each time Termux is launched.
Install required packages
To install the required packages, simply run
pkg add openjdk-17 wget curlIf no errors were emitted, we are good to go.
Set up storage space
To enable a persistent file system, we want to set up the internal or external storage in Termux.
To do this, execute
termux-storage-setup
and wait for the command to finish.
You should now have a storage folder in your main folder, with a shared subfolder and your other files inside.
Creating a dedicated folder
Let's create a folder for our server running
mkdir storage/shared/termux-mc-server
and moving into it
cd storage/shared/termux-mc-server
Get the server
We can use Fabric as a modloader for our server, making it way more flexible and enabling us to install mods and optimizations.
While in the termux-mc-server folder, execute
curl -OJ https://meta.fabricmc.net/v2/versions/loader/1.20.4/0.16.5/1.0.1/server/jar
For simplicity, let's move it to a readable file with
mv fabric-server-mc.1.20.4-loader.0.16.5-launcher.1.0.1.jar fabric.jar
We also need to accept the EULA. Do it with
echo "eula=true" >> eula.txt
Running our server
We are basically done!
You can now run the server with
java -Xmx2G server.jar nogui
It will take some time to initialize, but it should be up in a couple of minutes.
Have fun!

Comments ()